JS Code Embedded within HTML Page
To embed JS code within an HTML page, we use the “script” tag. Inside the “script” tag we may use the optional type attribute to define the scripting language. The syntax for embedding JS code is given below.
Syntax for embedding JS code within an HTML page:
<html>
<body>
<script type="text/javascript">
   document.write("Hello World!");
</script>
</body>
</html>
Output:
Hello World!
Explanation:
The <script type=”text/javascript“> and </script> tells where the JS code starts and ends. The statement document.write is a standard JS command for writing output to a web page. By entering the document.write command between the <script> and </script> tags, the browser will recognize it as a JS command and execute the code statement. In this case, the browser will write Hello World! to the page.
NOTE :–> If we had not entered the <script> tag, the web browser would have treated the document.write (“Hello World!”) command as pure text, and just write the entire line on the page. |
Where to put JS code
JS code in the body section will be executed while the page loads.
JS code in the head section will be executed when called.
JS code in a web page will be executed immediately while the page loads into the web browser. This is not always what we want. Sometimes we want to execute a script when a page loads, other times when a user triggers an event.
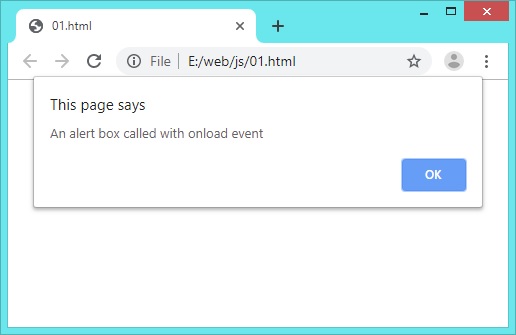
Example 1. Scripts in the head section:
Scripts to be executed when they are called, or when an event is triggered, go in the head section. When we place a script in the head section, we will ensure that the script is loaded before anyone uses it.
<html>
<head>
<script type="text/javascript">
   function message() {
      alert("An alert box called with onload event");
   }
</script>
</head>
<body onload="message()">
</body>
</html>
While run, this program will produce an alert box containing the message “This alert box was called with the onload event”.
Output:
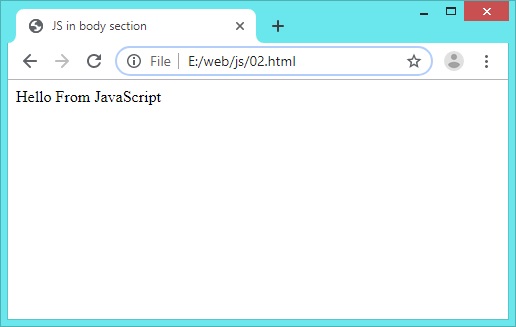
Example 2. Scripts in the body section:
Scripts to be executed when the page loads go in the body section. When we place a script in the body section it generates the content of the page.
<html>
<head>
  <title>JS in body section</title>
</head>
<body>
<script type="text/javascript">
   document.write("Hello From JavaScript");
</script>
</body>
</html>
Output:
Example 3. Scripts in head and body sections both:
We can place an unlimited number of scripts in our document, so we can have scripts in both the body and the head section.
<html>
<head>
<script type="text/javascript">
   function message() {
      alert("An alert box called with onload event");
   }
</script>
</head>
<body onload="message()">
<script type="text/javascript">
   document.write("Hello From JavaScript");
</script>
</body>
</html>
Output:
Combination of Example 1 and Example 2 both in Output
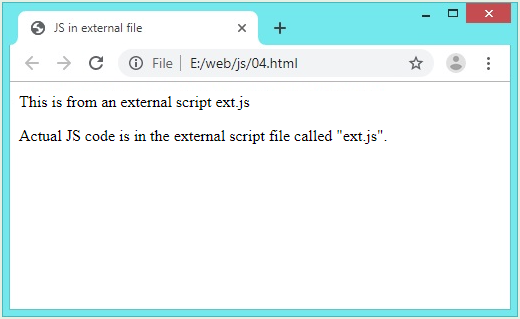
Example 4. Using an External JavaScript:
Sometimes we might want to run the same JS code on several pages, without having to write the same script on every page. To simplify this, we can write JS code in an external file. Save the external JS code with a .js file extension. To use the external script point to the .js file in the src attribute of the script tag. The content of the external script file ext.js is shown below:
| document.write (“This is from an external script ext.js”) |
Here is the content of the HTML file from which the external script is called:
<html>
<head>
   <title>JS in external file</title>
</head>
<body onload="message()">
<script type="text/javascript" src="ext.js">
</script>
<p>
   Actual JS code is in the external script file called "ext.js".
</p>
</body>
</html>
Output:
| Note :-> The external script cannot contain the <script> tag. Remember to place the script exactly where we normally would write the script! |
Here we have used one type of JS Pop-up box named Alert box. We will discuss about the Pop-up boxes such as Alert box, Confirm box, and Prompt box later.