Building Web Applications with JSF
JavaServer Faces (JSF) is a user interface (UI) framework for Java web applications. It is designed to significantly ease the burden of writing and maintaining applications that run on a Java application server and render their UIs back to a target client. JSF provides ease-of-use in the following ways:
- Makes it easy to construct a UI from a set of reusable UI components
- Simplifies migration of application data to and from the UI
- Helps manage UI state across server requests
- Provides a simple model for wiring client-generated events to server-side application code
- Allows custom UI components to be easily built and re-used
This tutorial demonstrates how we can apply JSF 2.2 support to a web application using the NetBeans IDE. We begin by adding JSF 2.2 framework support to a basic web application. The example application asks for input a name and then displays a message that uses that name.
Softwares Used
To complete this topic, we will need the following software resources :—
- NetBeans IDE 8.2
- Java Development Kit (JDK) 8
- GlassFish server 4.1.1
Building a JSF based Web Application
In the IDE, we create here a JSF based web application in the same way as we create any other web application in the IDE – using the New Web Application wizard, with the additional step of indicating that we want the libraries and configuration files to be included in our application.
1) We will use the new project wizard to create a Java web application. To do so, click on New Project button on the main toolbar or press Control + Shift + N on MS Windows. Then, select Java Web from Categories list and Web Application from Projects list. Press Next.
2) Enter a Project Name, Location on the hard disk. Project Folder will be filled automatically based on name and location. Press Next. We select Project name as CustomJSFApp.
3) Select a server from the Server drop-down list. In this example we will use Glassfish Server and Java EE Version 7 and Context Path should be filled automatically by the IDE, which being /CustomJSFApp. Press Next.

4) This is the step where we tell NetBeans that we want a JSF application, so select JavaServer Faces from the frameworks list. Registered libraries should be JSF 2.2.
5) Configuration tab is where one defines the URL pattern and Preferred page language. We are fine with the defaults for this example. Press Finish.
If everything goes fine, we will have a project created with the following structure:

- Web Pages contains all UI files such as
XHTMLFacelets,Stylesheets,JavaScripts, etc. At this point, we have our first page called index.xhtml. - WEB-INF contains the web deployment descriptor
web.xml. - All
Javafiles resides in Source Packages. We don’t have any right now but soon you will see once we create our firstmanaged bean. - Libraries contains all
framework,JDKand Server related files. Do note thejavax.faces.jar, which is theJSF 2.2 framework. - Configuration Files folder contains all configuration files.
Project is created successfully. Press the Run Project button on the toolbar or press F6. Now, we take a look at the output panel. The important line we are looking for is highlighted below.

Creating FacesServlet – The Controller
FacesServlet is the controller of our JSF application. There is no Java file created cause it’s part of the framework. All we need to do is configure it properly in the web deployment descriptor i.e. web.xml file.
Here is the listing of our web.xml file:
<?xml version="1.0" encoding="UTF-8"?>
<web-app>
    <context-param>
        <param-name>javax.faces.PROJECT_STAGE</param-name>
        <param-value>Development</param-value>
    </context-param>
    <servlet>
        <servlet-name>Faces Servlet</servlet-name>
        <servlet-class>javax.faces.webapp.FacesServlet</servlet-class>
        <load-on-startup>1</load-on-startup>
    </servlet>
    <servlet-mapping>
        <servlet-name>Faces Servlet</servlet-name>
        <url-pattern>/faces/*</url-pattern>
    </servlet-mapping>
    <session-config>
        <session-timeout>
            30
        </session-timeout>
    </session-config>
    <welcome-file-list>
        <welcome-file>faces/index.xhtml</welcome-file>
    </welcome-file-list>
</web-app>
- The
<context-param>element is used to define the context parameters that is going to be available to anyservletin the web application. By setting thePROJECT_STAGEto development we can get extradebuggingsupport - First we need to tell the server a little bit about the
servlet. We do that by using the element. Here we give the servlet a name and the actual class name. load-on-startup element tells the server to load thisservletwhen the server starts - The
servletneeds to be mapped to aURLor URL pattern. To do so, we use element. In our case, allURLthat has faces in it will be sent to this servlet. You can define multiple mapping for aservlet. Other possible mappings are *.jsf, *.faces, /faces/* etc. - Welcome file list element defines a list of welcome files. The welcome file is invoked by the server automatically if no file name is specified in the
URL. Take a look at ourURL, we haven’t specified any file name but the server is smart enough to show us “Hello Faces Servlet” message. This happens because we have defined index.xhtml file as our welcome file so the server is picking it up.
Managed Bean – The Model
To create one managed bean we now press the New File button on the toolbar or press Control + N on MS Windows. Select JavaServer Faces under Categories and JSF Managed Bean under File Types. Press Next.

Fill in the Class Name (WelcomeBean) and Java package name (techguru.webapp.jsfexamples). This bean will have default scope i.e. request so no change is required. Press Finish.

We have to add our own code to WelcomeBean so double click on the file to open it in the editor. We need a field to hold the user name and a new method to bind to the submit button. When user presses the Submit button this method will get executed and returns the string that corresponds to the next page to be displayed.
Here is the listing of our WelcomeBean code:
WelcomeBean.java
package techguru.webapp.jsfexamples;

import javax.inject.Named;
import javax.enterprise.context.RequestScoped;

@Named(value = "welcomeBean")
@RequestScoped
public class WelcomeBean {

     private String guestName = "";

     public WelcomeBean() {
     }

     public String getGuestName() {
        return guestName;
     }

     public void setGuestName(String guestName) {
        this.guestName = guestName;
     }

     public String welcomeUser() {
        return "welcome";
     }
}
- We add a new string field called
guestName. This will hold the name entered by the user. - The
constructoris already created for us by the wizard. - The getter and setter method for
guestNamefield has been created. - The
welcomeUser()method will be bound to the “submit” button. Notice the string being returned by the method. This string represents the next view i.e.welcome.xhtmlwithout the file name extension.
Creating View – The User Interface
Facelets is the official template system for JSF 2. We can use JSF components directly within the Facelets without any additional development. To do so, you will have to define the namespace in the html element. Notice the two namespace we have specified in the index.xhtml file. Besides templating, Facelets allows re-use by including the content resides in a separate file. We have one Facelet already created by NetBeans called index.xhtml. We don’t have the welcome.xhtml file. Let’s create it.
Press the New File button on the tool bar or press Control + N on MS Windows. Select JavaServer Faces under Categories and JSF Page under File Types. Press Next:

Enter welcome in File Name. Leave other values as it is. Press Finish.
NetBeans will create the file and open it in the editor for further editing. Let’s add our own code.
welcome.xhtml
<?xml version='1.0' encoding='UTF-8' ?>
<!DOCTYPE html PUBLIC "-//W3C//DTD XHTML 1.0 Transitional//EN" "http://www.w3.org/TR/xhtml1/DTD/xhtml1-transitional.dtd">
<html xmlns="http://www.w3.org/1999/xhtml"
      xmlns:h="http://xmlns.jcp.org/jsf/html">
    <h:head>
        <title>Welcome</title>
    </h:head>
    <h:body>
        <h:outputLabel><h2>Hello, #{welcomeBean.guestName}. You are welcome!</h2></h:outputLabel>
    </h:body>
</html>
Finally let’s take a look at the index.xhtml.
index.xhtml
<?xml version='1.0' encoding='UTF-8' ?>
<!DOCTYPE html PUBLIC "-//W3C//DTD XHTML 1.0 Transitional//EN" "http://www.w3.org/TR/xhtml1/DTD/xhtml1-transitional.dtd">
<html xmlns="http://www.w3.org/1999/xhtml"
      xmlns:h="http://xmlns.jcp.org/jsf/html">
    <h:head>
        <title>Custom JSF Application</title>
    </h:head>
    <h:body>
      <h:form>
          <h:outputLabel><h2>Hello guest! What's your name?</h2></h:outputLabel>
          <h:inputText maxlength="10" required="true" value="#{welcomeBean.guestName}" requiredMessage="Please enter your name."/>
          <br/><br/>
          <h:commandButton value="Submit" action="#{welcomeBean.welcomeUser()}" />
      </h:form>
</h:body>
</html>
Running JSF Application
Now, we will see the JSF application in action. We click the Run Project button on toolbar or press F6. It should display the following page:
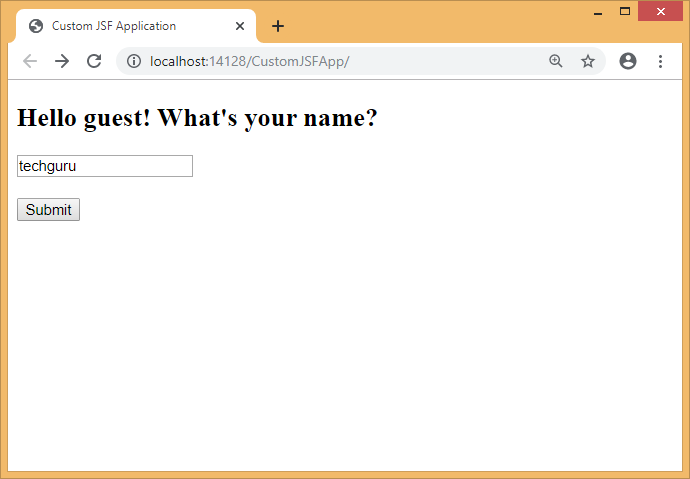
Figure 1: First page of the application
If we enter the name and press Submit button then you should see the page below. The screen shot shows that I entered “techguru” here.
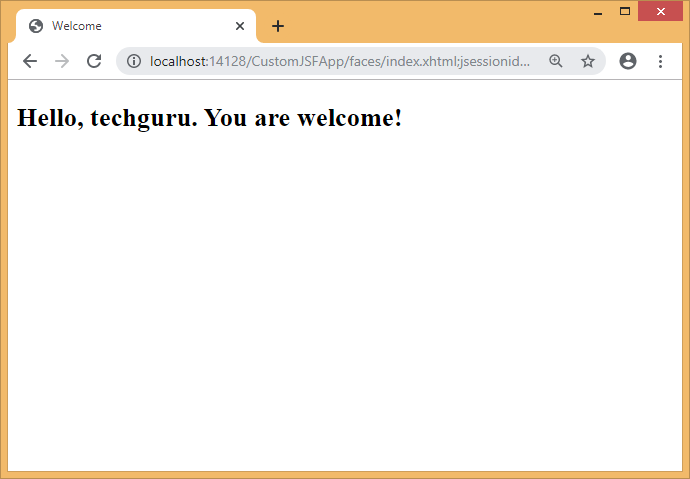
Figure 2: Welcome page
If we press the submit button without entering a name then we should see the following error message.
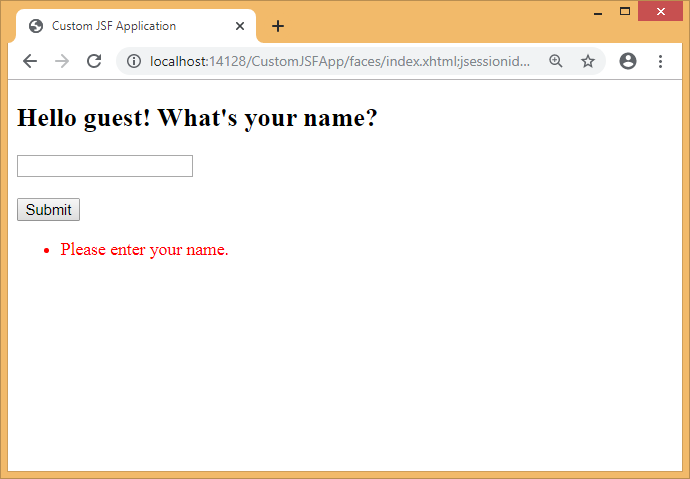
Figure 3: Validation error demonstration
In this tutorial, we have used NetBeans new project wizard to create a simple JSF application quickly. It has created all necessary files and configurations for us that we use as the base of our application. We have extended the base application by creating our own files and codes. Now, we can understand the basic structure of a JSF application and what role is played by FacesServlet, Facelets and Managed Beans and how it’s mapped to MVC pattern.